Sewing Together: Collaborative Quilting with Kids
Yes, quilts are big and take a lot of time to design and sew, but when you have many hands working together, it makes the effort easier and even more rewarding.
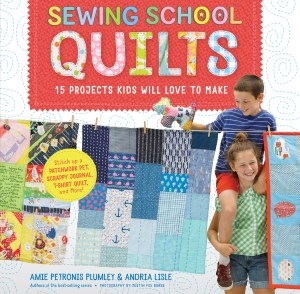
Every year, Grace-St. Luke’s Episcopal School — the school where I teach — holds an auction to raise funds for scholarships and teacher needs. Each class is enlisted to produce a project that is kid-made, but also of auction-worthy quality. Quilt making is the perfect craft for achieving this delicate balance. Recently, the second graders at our school transformed the Say Anything Quilt, one of the projects from Sewing School Quilts, into a work of art.
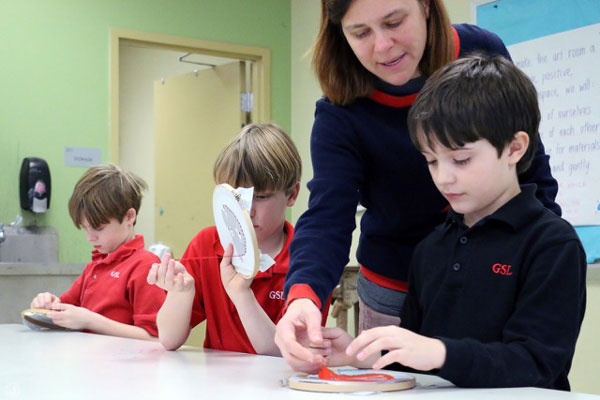
Yes, quilts are big and take a lot of time to make, but when you have many hands working together, you can stitch one up in no time. Collaborative quilts are ideal projects for scouts, classes, clubs, and other groups to make together. The Say Anything Quilt, which features blocks decorated with speech bubbles made from different fabrics, allows for a variety of fun, whimsical fabrics and the speech bubbles play upon kids’ love of graphic novels. Our second graders had a grand time searching for the fabric that “spoke” to each of them. They had lively conversations about it. For some, color was very important; others focused in on images on the fabric while still others created a whole story around a graphic pattern.
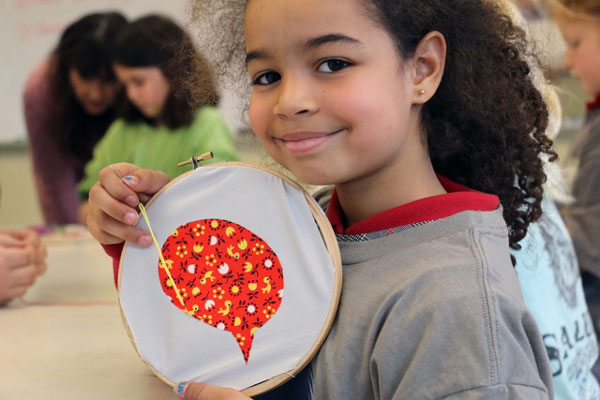
After selecting their fabrics, the students were ready to stitch around the outer edges of their speech bubbles. They learned a new word — appliqué — for the art of sewing a fabric design on top of another piece of fabric. While most of the students had sewn before, not everyone had used an embroidery hoop. After a quick demonstration, the kids chose their threads and got to work. While there were a few bumps along the way, I had enlisted the help of several parents who were on hand to assist with threading needles, solving problems, and tying knots. In the end, everyone had sewing success!
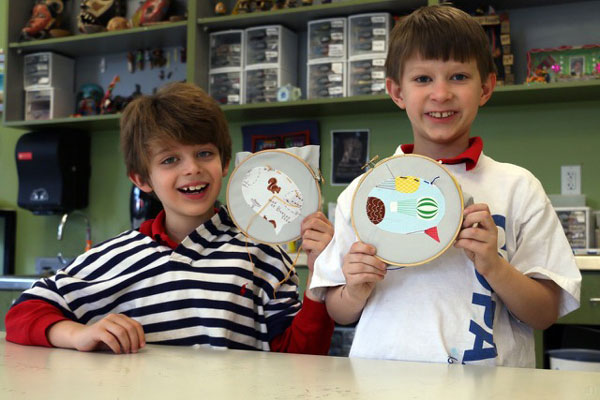
As the quilt squares were finished, the students began to play around with the layout of the quilt. They discussed which squares looked best together and made sure that each row had a lot of variety. They were acting like seasoned quilt makers themselves! Once all of the blocks had been appliquéd, I turned them over to Darla Ives, a seasoned quilt maker who pieced and finished the quilt. She turned the blocks on point and added a border to increase the size of the quilt. I love how she took a simple throw-sized quilt design and transformed it into a work of art that was big enough to cover a full-sized bed. The students were amazed when they saw the finished quilt, and each of them eagerly hunted for their own speech bubbles.
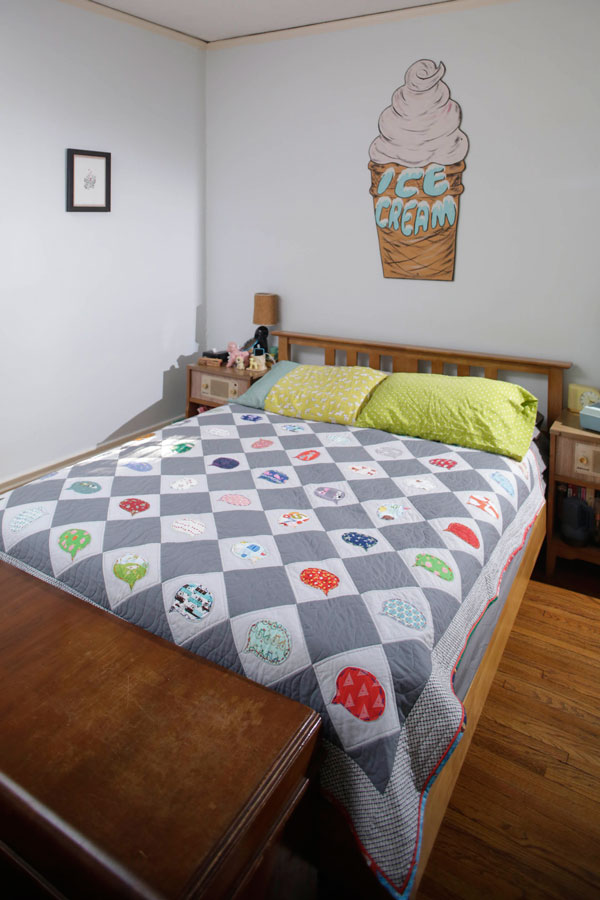
The Say Anything quilt was a big success at the school auction and is now happily in a family’s home. If you decide to take on a collaborative quilting project with a group of children, doing some advance planing helps to ensure that the process goes smoothly. Here are a few tips:
- Choose fabrics that fit a color palette or theme so that, no matter what individual quilters choose for their squares, the overall look and feel of the quilt will be cohesive.
- Prepare the fabric for sewing in advance as much as possible.
- Pre-thread more needles than you need so that children can sew more independently.
- Ask for help! Gather up sewing volunteers to assist you.
- Make a layout grid to accompany the finished quilt so that everyone knows who made each block.
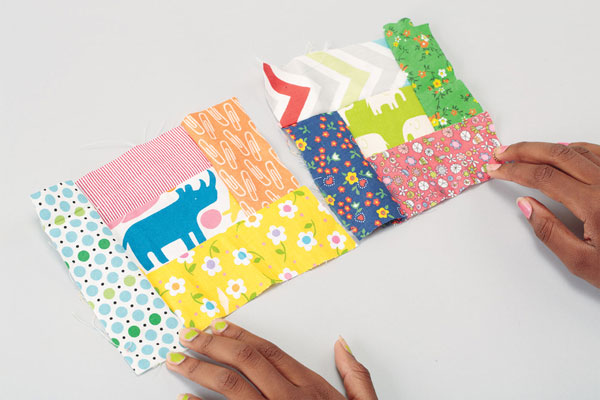
But you don’t have to make something auction-worthy to share the craft of quilting with kids, and a collaborative quilting project doesn’t have to happen on a large scale. The only requirement is that everyone involved — both experienced adults and children — has fun and reaps the rewards of working together. Start with the basics! This DIY Quilt Block project is a fun way to encourage new quilters to play with traditional patchwork and fabric — and they can make one block or as many as they like.

Step 1: Gather a variety of fabrics, and play around with color and design. Trim fabric shapes as you work.

Step 2: Once you have everything the way you like it, begin to sew the block. Flip fabrics together, with the good sides facing.

Step 3: Use a sewing machine to stitch along the edges.

Step 4: Continue to piece together the block until it’s all sewn up, then trim the sides even. Turn the block over and iron or finger-press the seams flat. Make a few more blocks until you have enough for a quilt or pillow.
DIY quilt block instructions excerpted from Sewing School Quilts © Andria Lisle and Amie Petronis Plumley.
Also available in this series: Sewing School ®,Sewing School ® 2, Sewing School ® Fashion Design, and Sewing School ® Box Set.
