Seven Ways to Store Potatoes
Don’t have much cool space for long-term storage of homegrown spuds? No problem. Author Barbara Pleasant has a few creative ways to store, and preserve, your potatoes.
Flawless potatoes that stay in the ground until the plants’ tops wither are the best candidates for long-term storage. Curing or drying the potatoes for 7 to 10 days further improves their storage potential. If you have clay soil, you may want to lightly rinse off excess soil, then pat the spuds dry. Lay them out in a dim room and cover them with a cloth or towels to block out sunlight. During this time, the skins will dry, small wounds will heal over, and new layers of skin will form where the outer layer peeled or rubbed off. After 3 or 4 days, turn the potatoes over so all sides can dry.
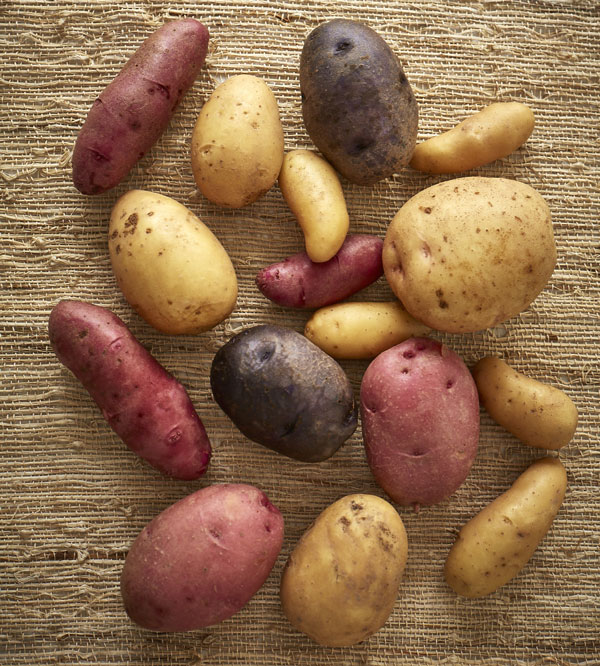
Potatoes and sweet potatoes like to spend their dormant period in dry conditions, with some leeway in temperature. A cool, dry basement where temperatures range from 50 to 60° F (10 to 15° C) is ideal, especially for potatoes, which need to be protected from light. I often store early summer potatoes in bins and boxes under my bed, because it’s the best cool, dry, dark place in my house in late summer.
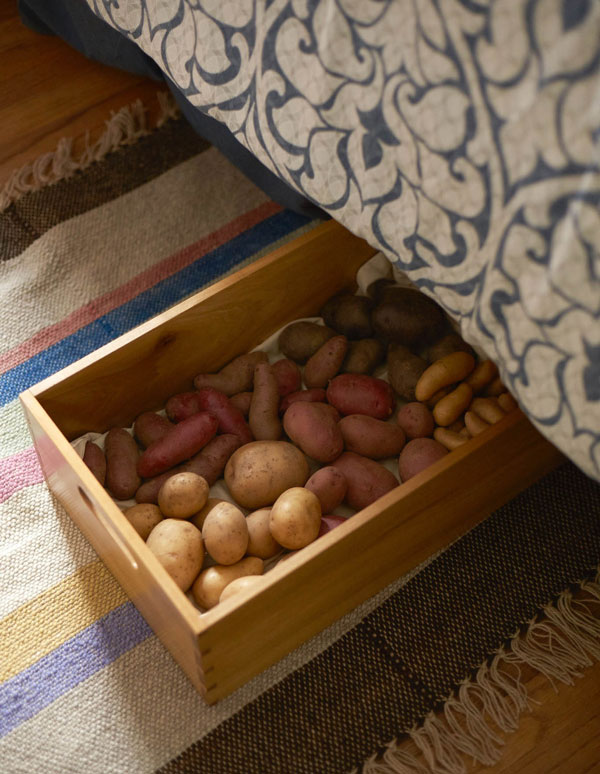
Depending on the storage space available to you, you might use half-bushel baskets, small bins with loose-fitting lids (including low-profile under-the-bed bins), cardboard boxes, an old dresser with partially opened drawers, or plastic or wooden crates to store your dormant tubers and onion family crops. Here are a few more resourceful ideas for storage spaces.
Seven Ways to Store Potatoes
- Place cured potatoes in a burlap bag, tuck the bag into a plastic storage bin left open a wee bit, and keep in an unheated basement.
- Line plastic laundry baskets with newspapers, with potatoes arranged in layers between more newspapers. Place the packed, covered baskets in an unheated garage.
- In the basement, make short towers of potatoes by stacking them between layers of open egg cartons. Cover the towers with cloth to protect the potatoes from light.
- Place sorted potatoes in small cloth shopping bags that have been lined with plastic bags, and store in a cold space under the stairs. A similar method: Sort different potatoes into paper bags, then place the bags in milk crates to prevent bruising.
- Use an old dresser in a cool room or basement for storing potatoes in winter. Leave the drawers partially open for ventilation.
- In a shady spot outdoors, place a tarp over the ground and cover it with an inch of loose straw. Pile on potatoes and cover with more straw, a second tarp, and a 10-inch blanket of leaves or straw.
- Bury a garbage can horizontally so that its bottom half is at least 12 inches deep in the soil. Place potatoes in the can with shredded paper or clean straw. Secure the lid with a bungee cord, and cover with an old blanket if needed to shade out sun.

If you have little or no cool storage, or more culls than keepers, you can dry or can your potatoes for long-term storage. Freezing is not recommended, because the flesh and water separate as potatoes freeze and thaw, with unpleasantly mealy results.
Canning Potatoes
Pressure canning brings out the buttery notes in waxy potatoes, and you can process a batch at 12 pounds of pressure in 35 minutes. The pieces should be blanched before packing them into hot jars, but they need not fit tightly. Fresh boiling water amended with citric acid (to prevent discoloration) is poured over the prepared potatoes before they go into the pressure canner. Note: Potatoes are a low-acid food and cannot be canned in a water-bath or steam canner.
Drying Potatoes
Dehydrated potatoes are an essential ingredient in dry soup mixes, and dried potato slices make excellent scalloped potatoes or potatoes au gratin. Using the culls from the main crop, I like to dry at least one batch of potatoes each year. In spring when the fresh potatoes are gone, dried potatoes can save the day.
The most common way to dry potatoes is to dry slices. Slice well-scrubbed potatoes into uniform pieces and drop them into a bowl of cold water with a teaspoon of citric acid mixed in (to prevent discoloration). Bring a pot of water to a boil, and blanch the pieces until they are barely done, about 5 minutes. Cool slightly before arranging on dehydrator trays. Dry potato slices until hard and opaque — your house will smell like baked potatoes!
Text excerpted from Homegrown Pantry © Barbara Pleasant.
Foreword INDIES Silver Award Winner
GWA Media Awards Silver Award Winner


