Niki Jabbour: Fooling Mother Nature with Simple Season Extenders
Start your spring planting early with cold frames, row covers, cloches, and mini hoop tunnels that protect your crops from stubborn winter weather.
Spring has arrived! But… it doesn’t feel very springlike, with temperatures in my region still below freezing on most days. I don’t let the cold weather get me down, however, because I know that with my sneaky season extenders, I’ll get a jump on the spring planting season even if Mother Nature isn’t quite ready to give up on winter.
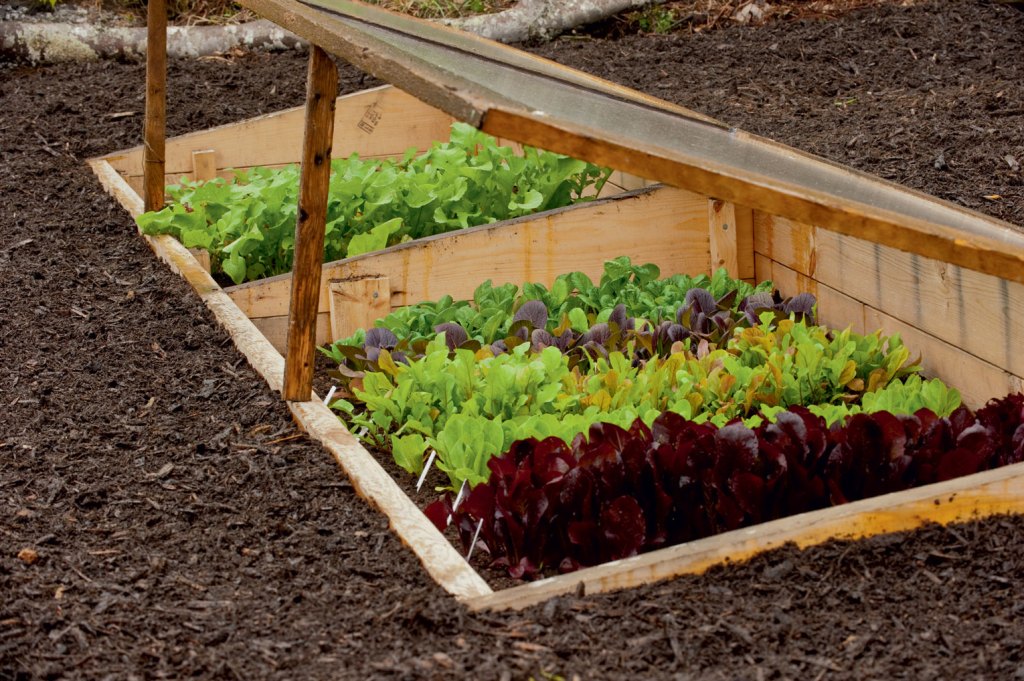
Depending on the time of year and the type of crop being protected, I use cold frames, row covers, cloches, or mini hoop tunnels. My cold frames are permanent structures, set into the earth to the side of my vegetable garden. They are oriented to face south, capturing maximum solar energy, and they supply a winterlong harvest of homegrown carrots, beets, leeks, scallions, hardy herbs, and many types of salad greens. My other season extenders are temporary and can be quickly placed in the garden when the uncertain weather of April turns cold.
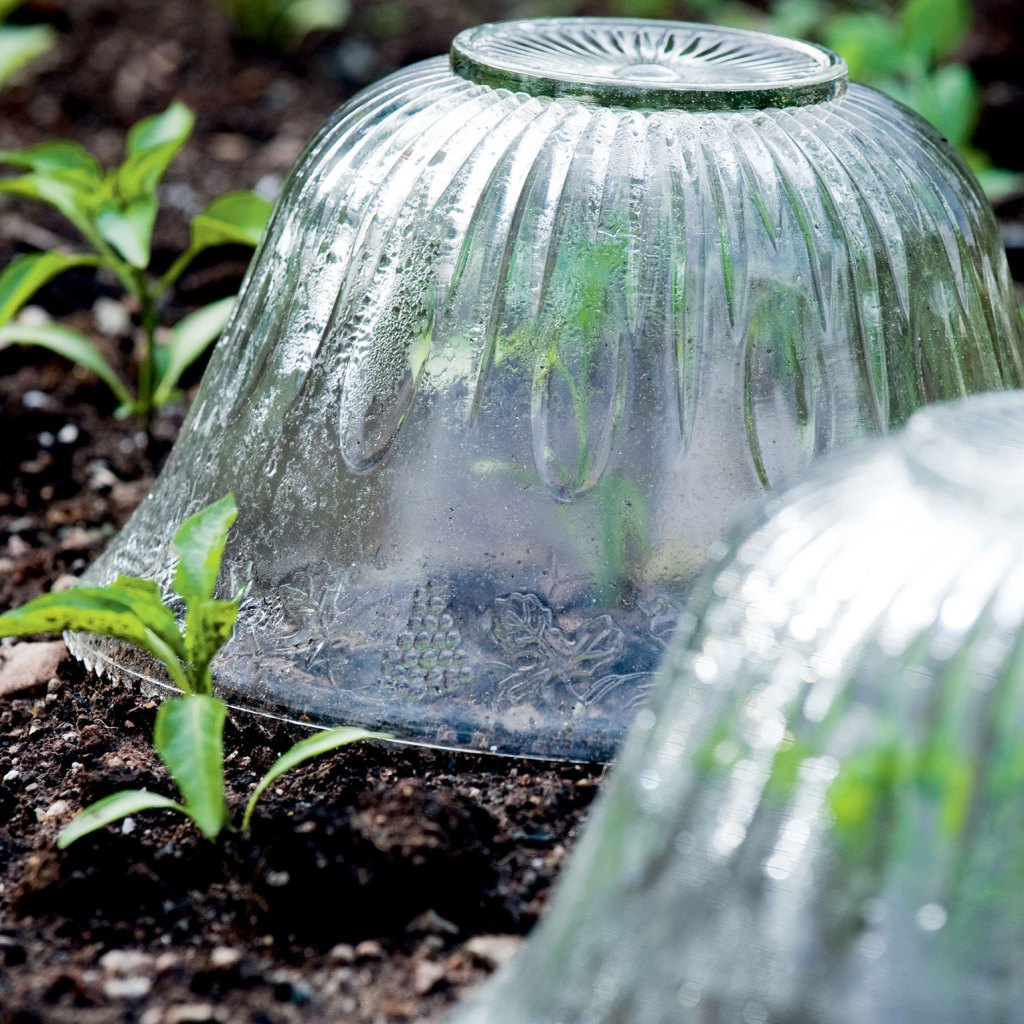
In a small garden bed, a few cloches are ideal for protecting clumps of salad greens, brassicas, or even early planted tomatoes, eggplants, and peppers from a cold snap, hail, or driving rain. A cloche is simply a miniature greenhouse placed over a plant. It can be a purchased cloche, such as the traditional French glass cloches, or it can be made from “upcycled” items such as milk jugs, juice bottles, or salad containers (see Rhonda Massingham Hart’s Top Ten Dirt-Cheap Gardening Tips). But in the face of frost or hail, even a bucket can make an outstanding temporary cloche! If it’s only being used for a short period of time, the cloche doesn’t need to be transparent. If it will be left on the bed for several weeks, pick a clear cloche. As well, be sure to vent your cloches — even on mild days — to ensure that the inside temperature doesn’t climb too high.
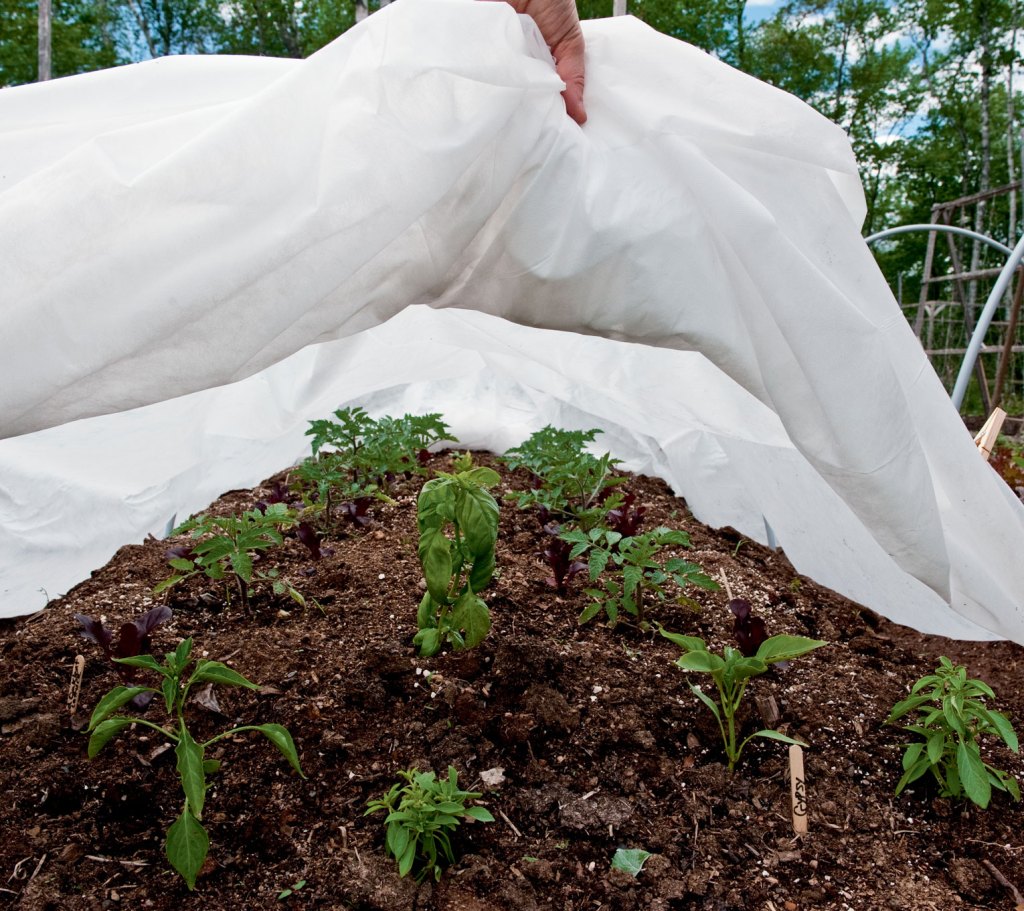
Use row covers — lengths of lightweight, semitransparent fabric — to cover newly planted seedbeds (keeps them safe from birds!) or young seedlings. Not only will the covers provide protection from cold and frost, but I appreciate that they keep the deer away from my tender April salad greens. Row covers can be laid directly on the garden beds or floated above on hoops.
A mini hoop tunnel is a great way to push back spring, allowing you to plant cool- and cold-season crops months before you can in the open garden. My garden beds are 4 by 10 feet, making them the perfect size and shape for a quickly assembled mini hoop tunnel.
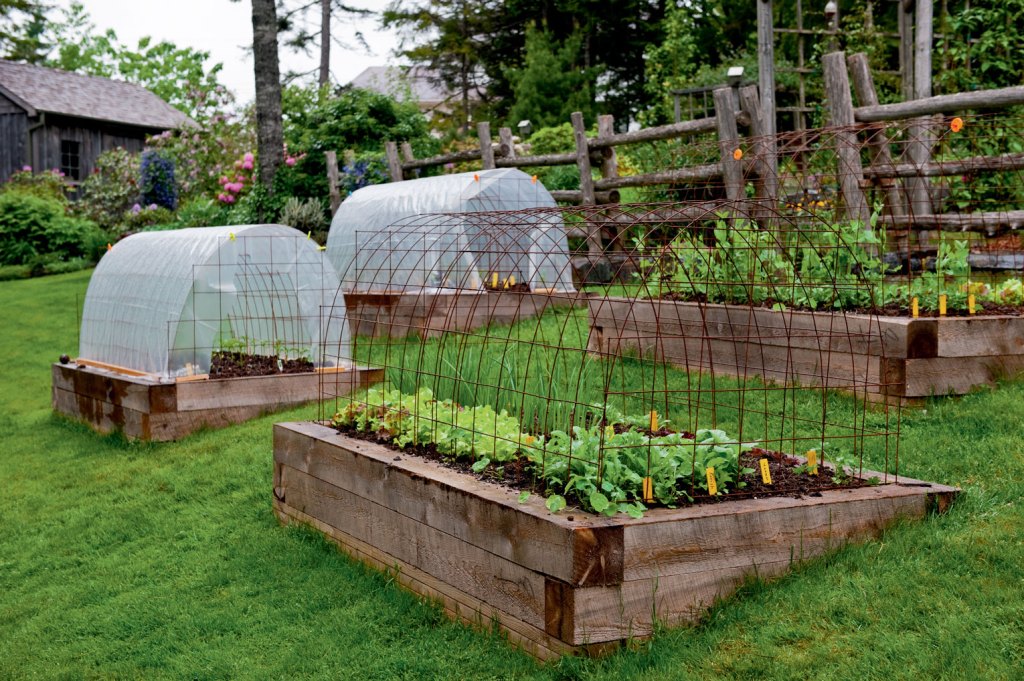
Making a Mini Hoop Tunnel:
- Gather lengths of ½-inch PVC pipes to make the ribs — I space them every 3 feet. You’ll also need two 1-foot lengths of rebar for each hoop, a covering (I use 6 mil greenhouse poly), and some clips (or rocks, logs, weights) to hold the cover securely.
- Pound 1-foot lengths of rebar stakes into the soil where you intend to put your PVC hoops. Slip the PVC over the rebar, pushing it several inches into the soil to secure it.
- Cover the ribs with the poly, securing around the base with weights or use quick clips (The Year-Round Vegetable Gardener has instructions on how to make these handy clips).
- Seed or plant! Make sure you vent your mini hoop tunnels when the temperature is mild by lifting both ends of the poly covering. Water when the soil is dry.
Happy spring harvesting!
Text © Niki Jabbour.
Learn More

Related Books
-

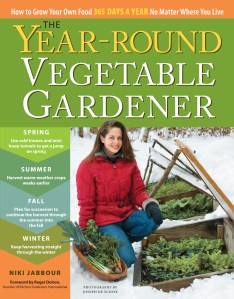
Growing Under Cover
-

Niki Jabbour's Veggie Garden Remix
-
Groundbreaking Food Gardens
-

Grow More Food
-
Starter Vegetable Gardens, 2nd Edition