How to Clean and Save Tomato Seeds
To make handling livestock as stress-free as possible for animals and humans alike, first we have to understand how animals think.
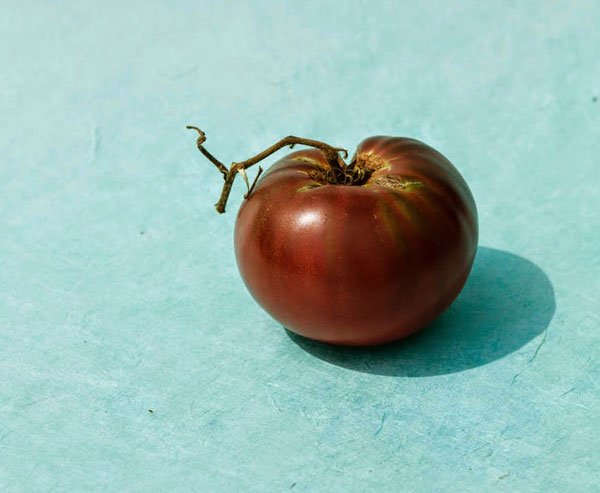
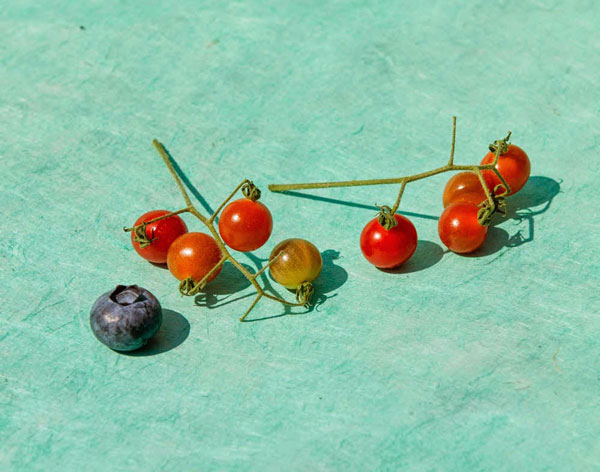
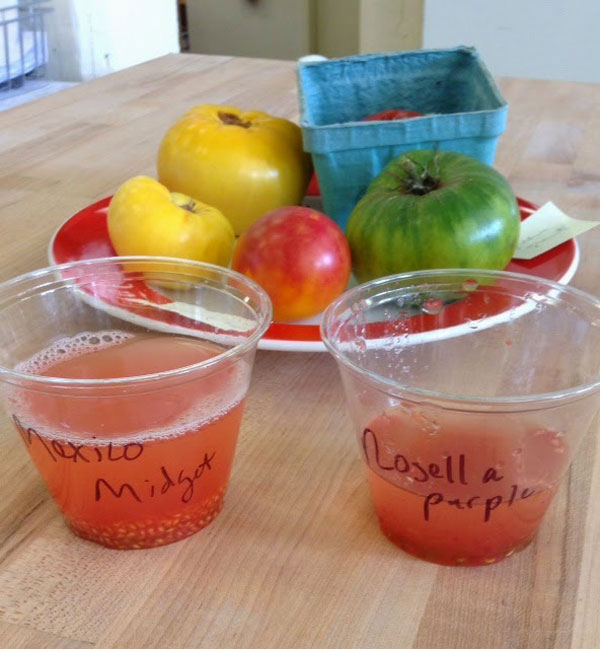
This summer, several Storeyites grew tomato varieties featured in the book Epic Tomatoes. During our informal taste tests, two varieties stood out as favorites: Rosella Purple (one of the dwarf varieties author Craig LeHoullier and his colleagues developed) and Mexico Midget (a tiny grape tomato from Mexico, which Craig introduced to the trade). Now that the photography for the book is complete, we figured we’d save a few seeds from our favorites for next year.
If you’re interested in cleaning seeds from your own well-loved tomato varieties, or any other garden favorite, such as beans, peas, melon, and squash, Fern Marshall Bradley’s Saving Vegetable Seeds is an excellent resource.
The important first step with tomato seeds is to ferment away their slimy coating, which contains a germination inhibitor.
Here’s how to do it:
- Choose fully ripe, undiseased tomato fruits that have the same color and form as the parent variety. It doesn’t hurt to take a bite, too, to make sure the tomato tastes good!
- Cut open the fruit, and scoop out the pulp and seeds into a bowl or jar. Or you can simply squeeze the fruits in your hand to release the pulp and seeds. (It’s fine to use the remaining tomato flesh for cooking and eating.)
- Add about the same volume of water as seeds and pulp.
- Cover the container loosely with cheesecloth if you wish, and put the contain in a warm place (75 to 80° F [24 to 27° C] is good) that is out of direct sunlight.
- Let the container sit for several days, stirring it once a day. White mold may form on the surface of the liquid, and it will smell bad.
- After 2 to 5 days (fermentation proceeds more quickly at higher temperatures), gently pour off the mold and surface liquid. Let floating seeds go, too, because these seeds aren’t viable. You’ll be left with good seed in the liquid in the bottom of the container.
- Add fresh water and stir, let the seeds settle, and pour off the water. Repeat this as many times as needed until the water is clear.
- As a final cleaning step, transfer the seeds to a colander and rinse them well with water.
- Spread out the wet seeds on screens, paper plates, or coffee filters for drying.
We’ve squeezed the seeds into plastic cups and added some water. Now, we wait for that smelly layer of fungus! We’ll let you know how things are . . .er . . . fermenting.
STEP-BY-STEP TEXT EXCERPTED FROM SAVING VEGETABLE SEEDS © 2014 BY FERN MARSHALL BRADLEY. ALL RIGHTS RESERVED.
Learn More
Save vegetable seeds as you harvest so your favorite plants can grow again next season. In this Storey BASICS® guide, Fern Marshall Bradley covers everything you need to know to successfully save seeds from 20 popular garden vegetables, including beans, carrots, peas, peppers, and tomatoes. Learn how each plant is pollinated, where to store your collected seeds through the winter, and how to test their replanting viability in the spring. Now you can grow the delicious varieties you love year after year.


