Bead Up Your Knitting!
If there’s any such thing as “the best of both worlds,” I’d have to say that beading and knitting at the same time is it.
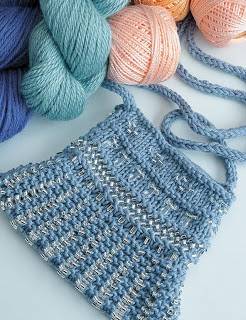
I have a passion for all kinds of yarn and almost anything that sparkles, and while I do still practice knitting and beadwork as separate endeavors, I now spend a lot of time doing beadwork on my knitting needles.
I use five different techniques for incorporating beads into my knitting. The first two techniques are traditional, dating back to at least the mid-nineteenth and early twentieth centuries respectively, and the last three are more recent developments. All but the last technique require prestringing beads onto your yarn.
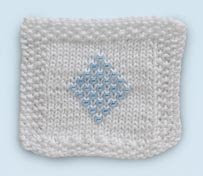
Bead knitting is the technique to use for pictorial designs. It was popular with Victorian-era knitters and was used in baby bonnets, gloves, socks, handbags, and other small items. While you may use the technique for one-color and random designs, for pictorial designs you’ll have to prestring the beads according to a chart. Bead knitting is done on a stockinette-stitch background, and each bead is knitted or purled into a stitch.
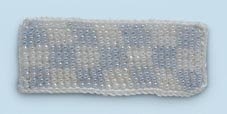
With beaded knitting, a bead (or beads) lies on the thread between two stitches. With this technique you can actually shape your knitted piece by adding more beads; it is the method that was used in many 1920s beaded purses. The beads are usually all one color, so prestringing is a lot easier than for bead knitting with a chart. Beads lying between two knit stitches show on the back of the work; beads lying between two purl stitches show on the front of the work. Shaped pieces, such as the beaded purses, are done in garter stitch, and beads are incorporated on both sides of the fabric. You alter the shape by leaving more or fewer beads between the stitches.
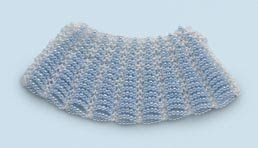
Slipstitch bead knitting leaves a bead floating on top of a slipped stitch, and you can use the technique to add a bead on top of a knitted or a purled stitch. Beads may be place randomly or in a pattern, and because the bead lies on top of the fabric, it will not affect your gauge. When you get to the place where you want a bead, you bring the yarn to the front, slide one bead up close to the needle, slip the stitch, and work the next stitch. You may place a bead on the front side when working either right- or wrong-side rows.
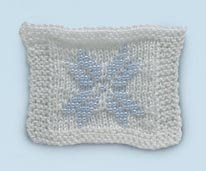
Another option is carry-along bead knitting. With this method you string beads onto a separate thread that you carry along with your main yarn. This affords you the possibility of knitting with beads that are too small to thread onto your knitting yarn. You also can use large beads with this method. Because the beads are on a separate thread, they will not affect your gauge.
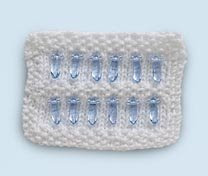
Finally, with hook bead knitting you can add beads to individual stitches with a crochet hook. With this method, no prestringing is necessary. When you get to the place where you want a bead, you place a bead on a small crochet hook, remove the stitch from the knitting needle, pull it through the bead, and then replace the stitch on the knitting needle. This can save wear and tear on delicate yarn.
Excerpted and adapted from Knit One, Bead Too © Judith Durant.
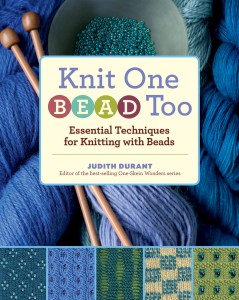
Give your knitting a touch of sparkle! Judith Durant shows you how to add beads to any knitting pattern using five easy-to-learn techniques. It’s simple, fun, and can be done right on your knitting needles. With step-by-step instructions for each technique, as well as 16 original patterns, you’ll be turning simple bags and wearables into stunning special-occasion creations in no time. From eye-catching knit caps to surprisingly intricate socks, you’ll be inspired to explore the endless possibilities of beaded knitting.
